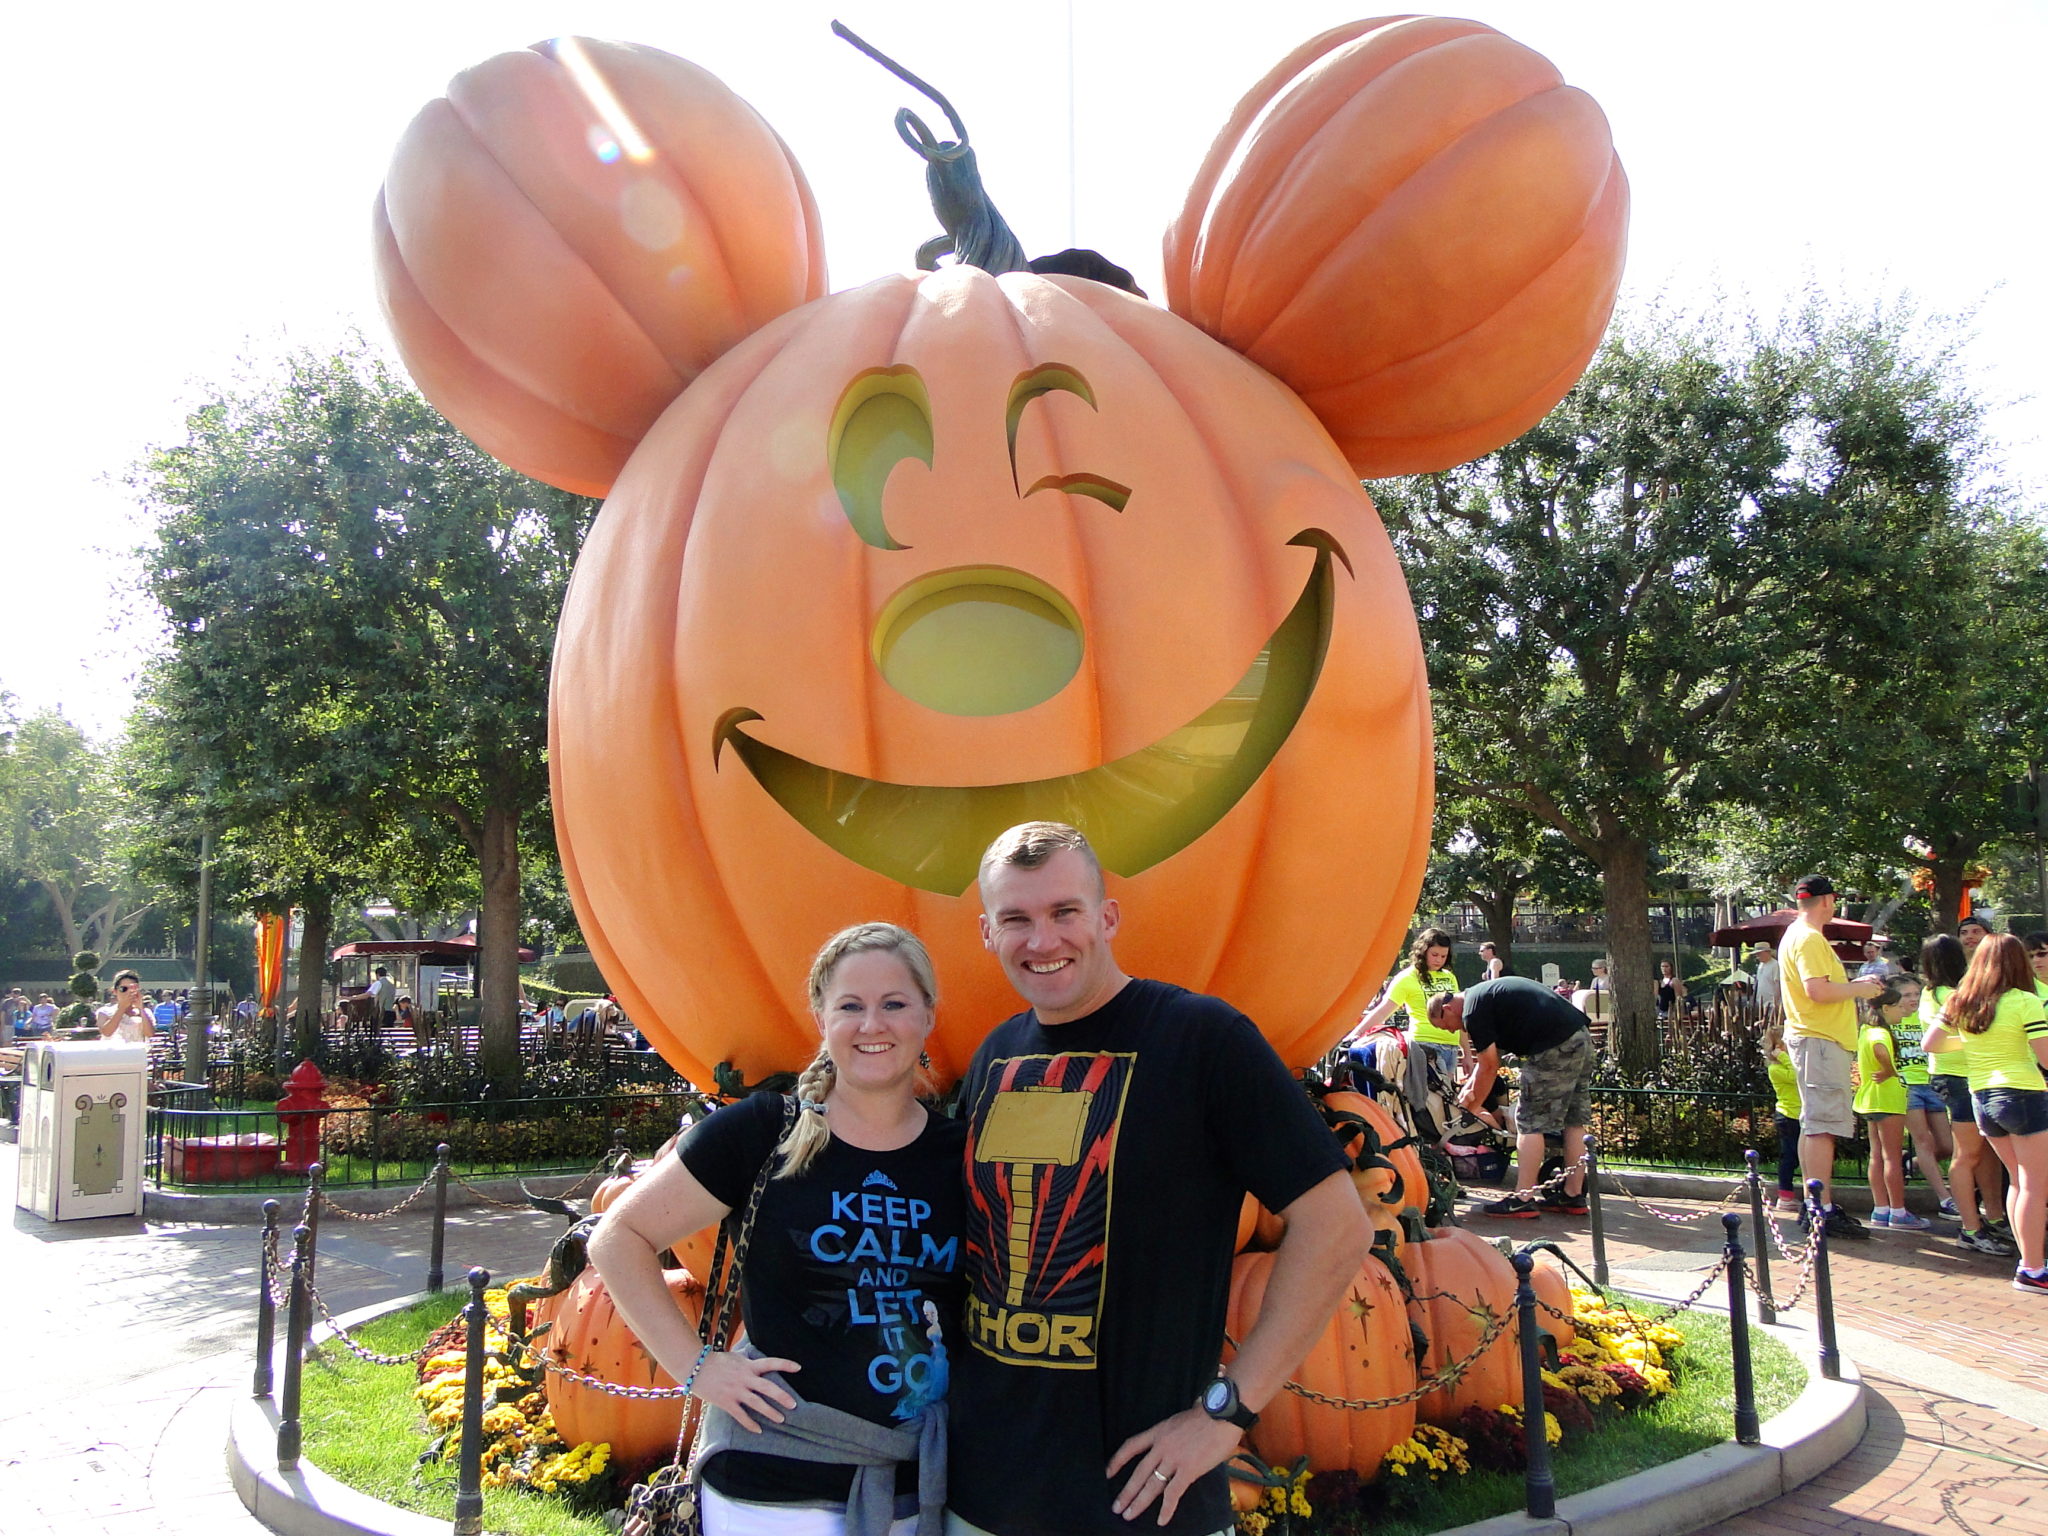
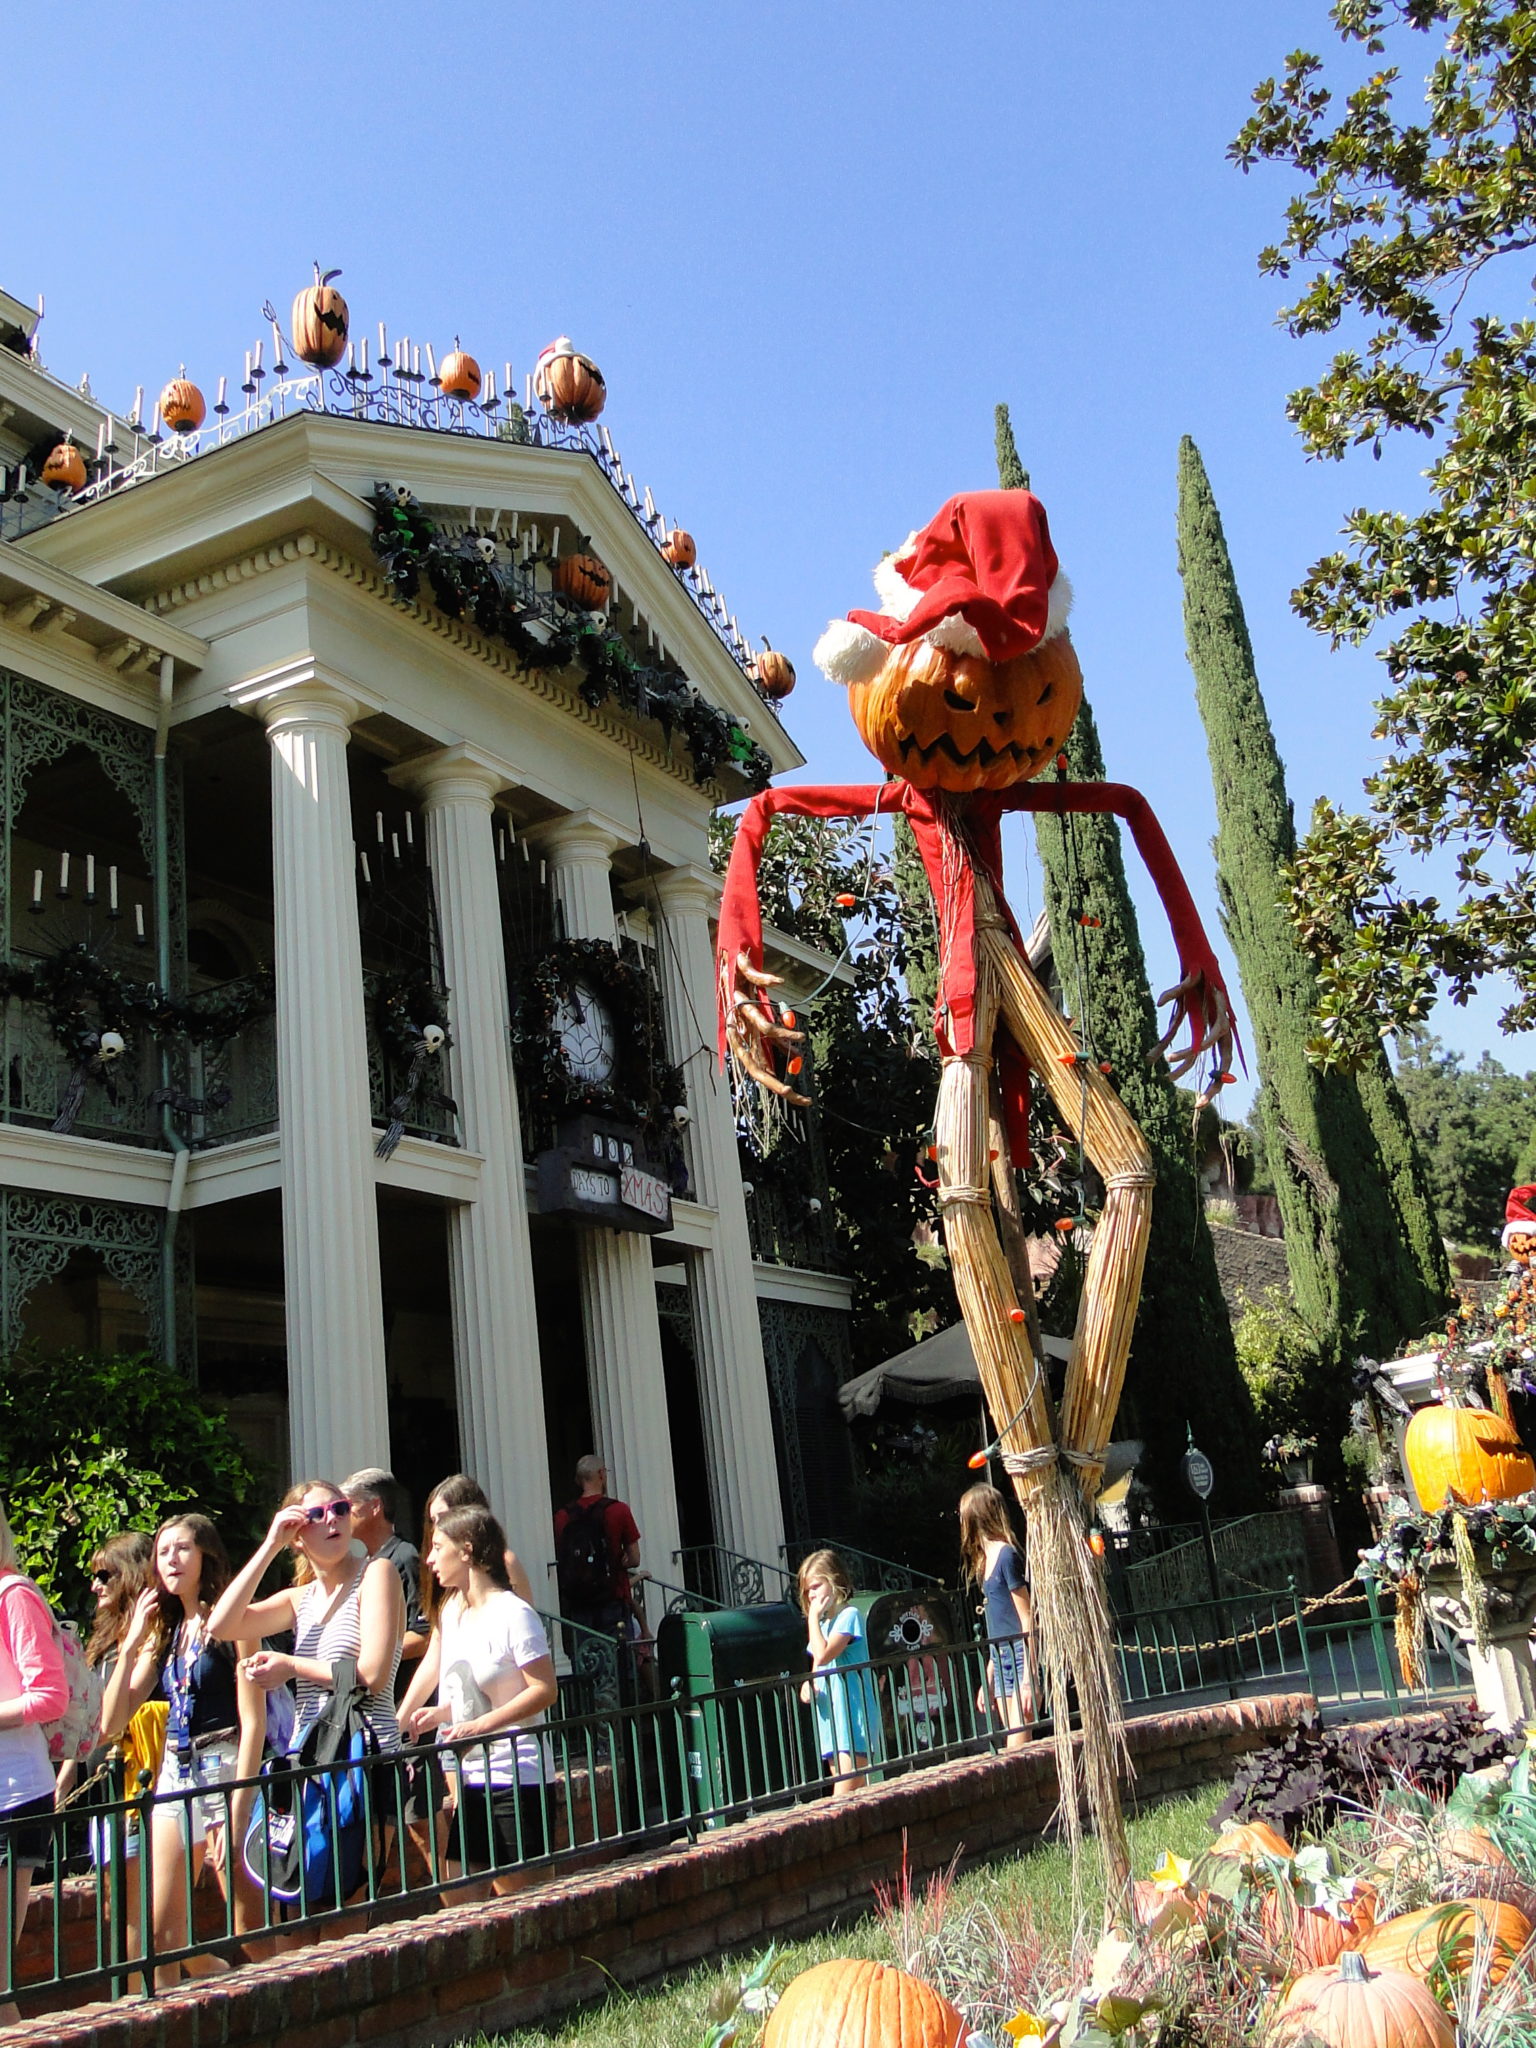
Halloween at Disneyland is an extra magical time. They have a special Halloween party (which, sadly, we never made it to), Halloween-themed treats, various Disney villians to meet and take photos with, and cool Halloween decorations throughout the park. I had never seen Nightmare Before Christmas before going to Disneyland at Halloween, but after experiencing the Haunted House decorated with Jack Skellington stuff, I had to watch it. (Spoiler alert: It’s awesome)
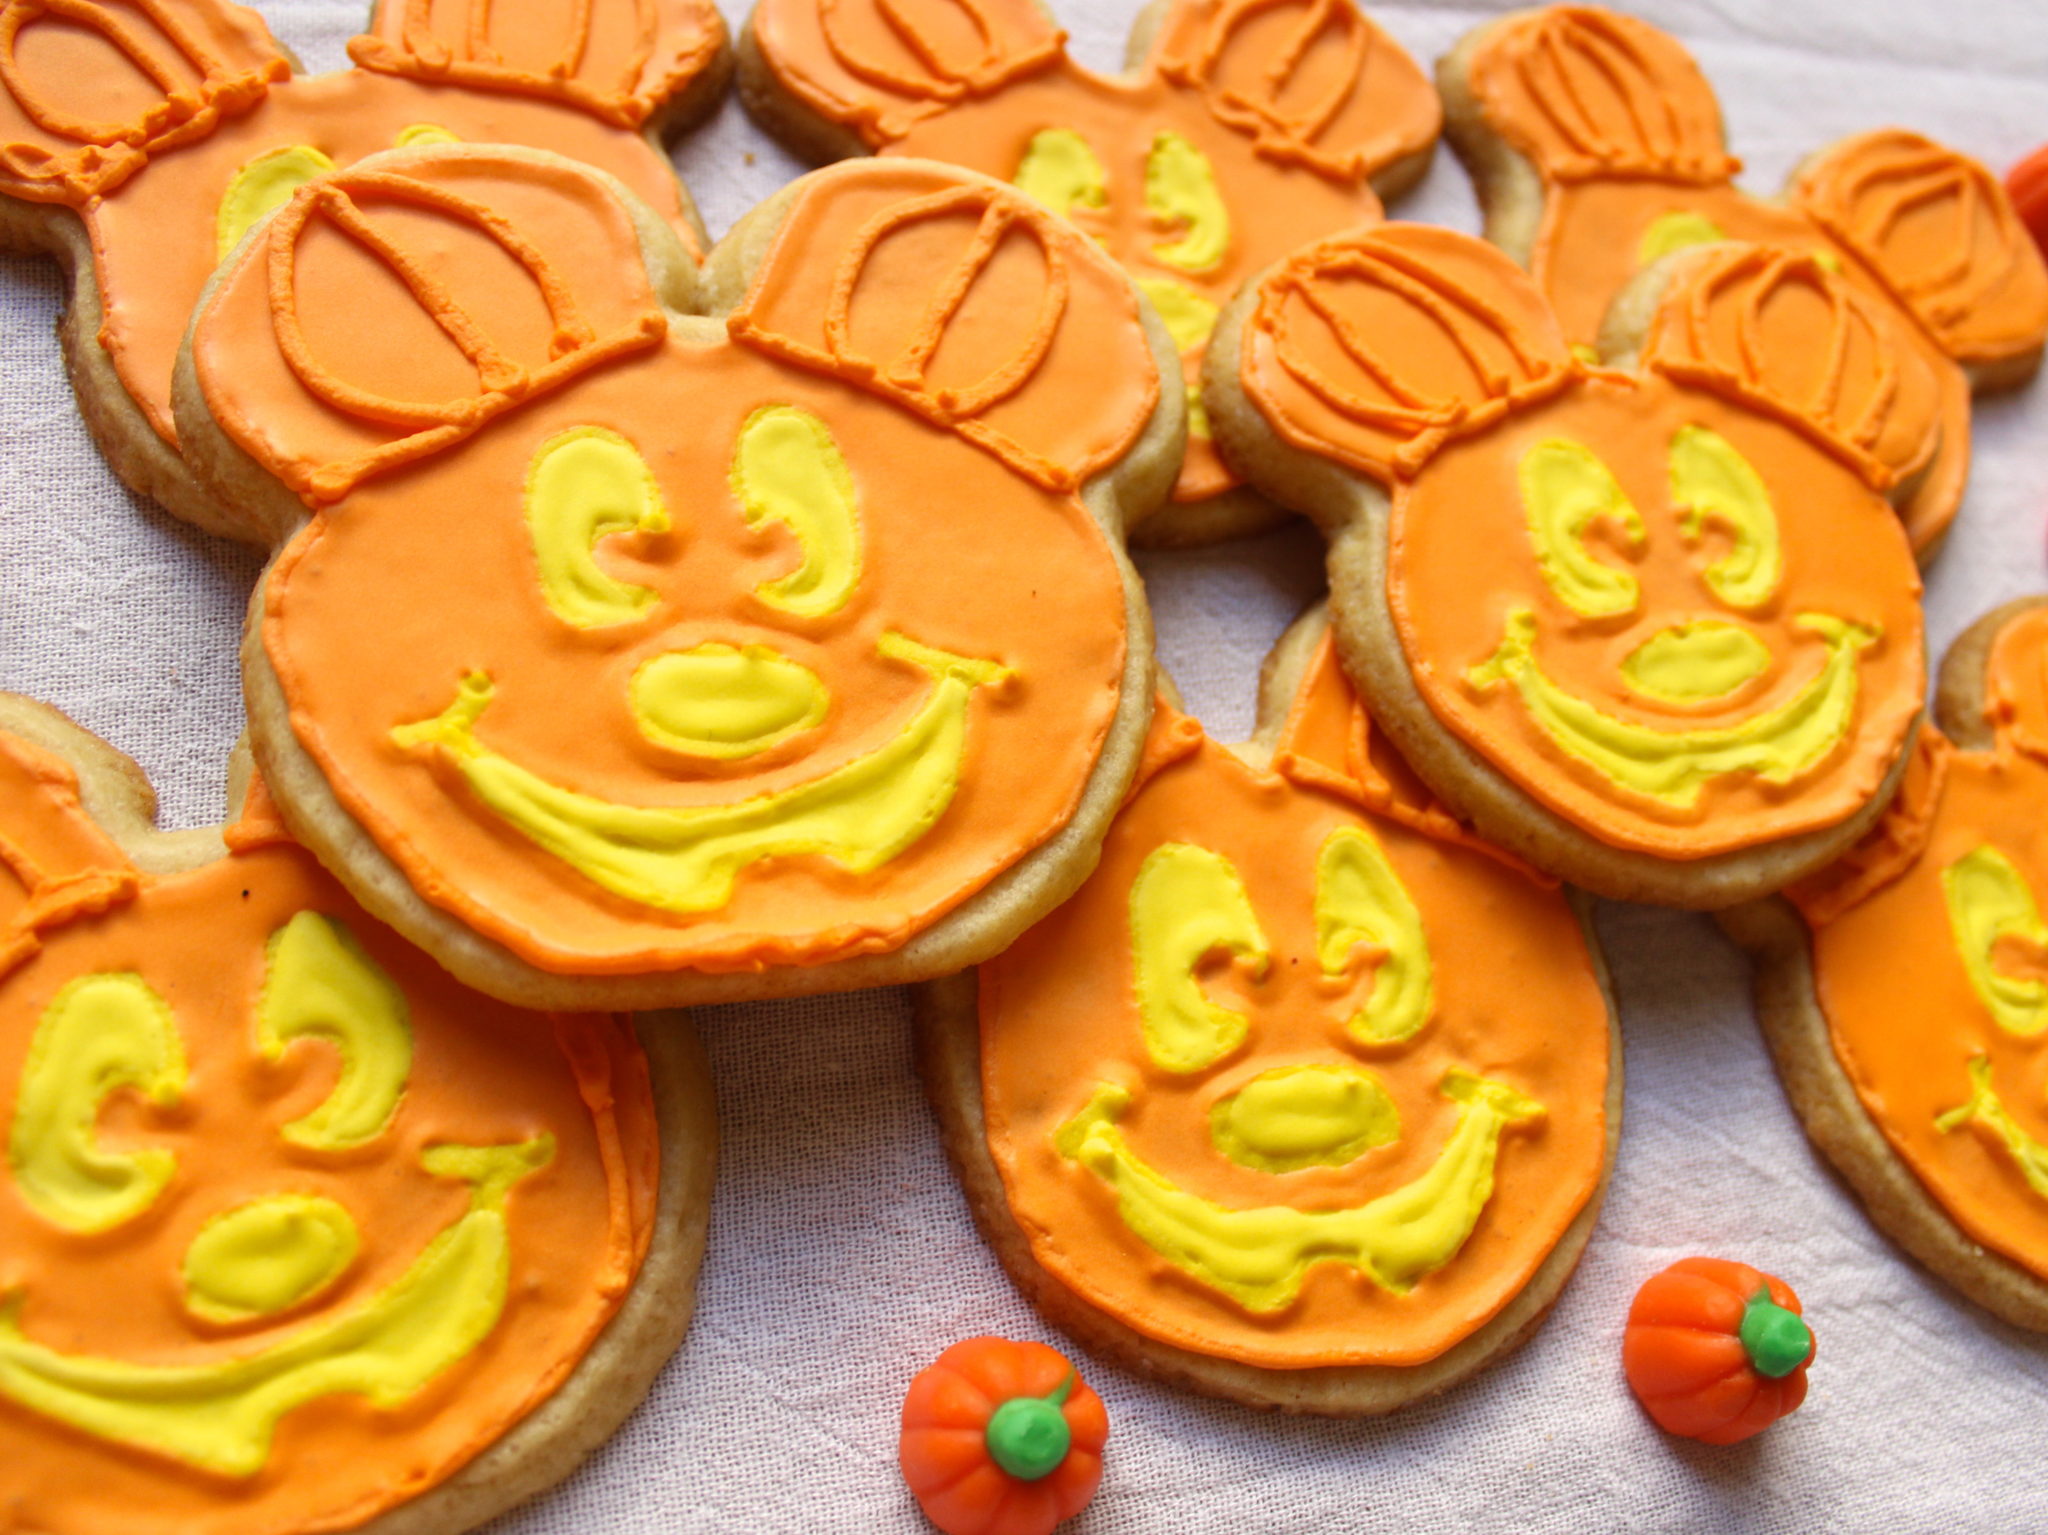
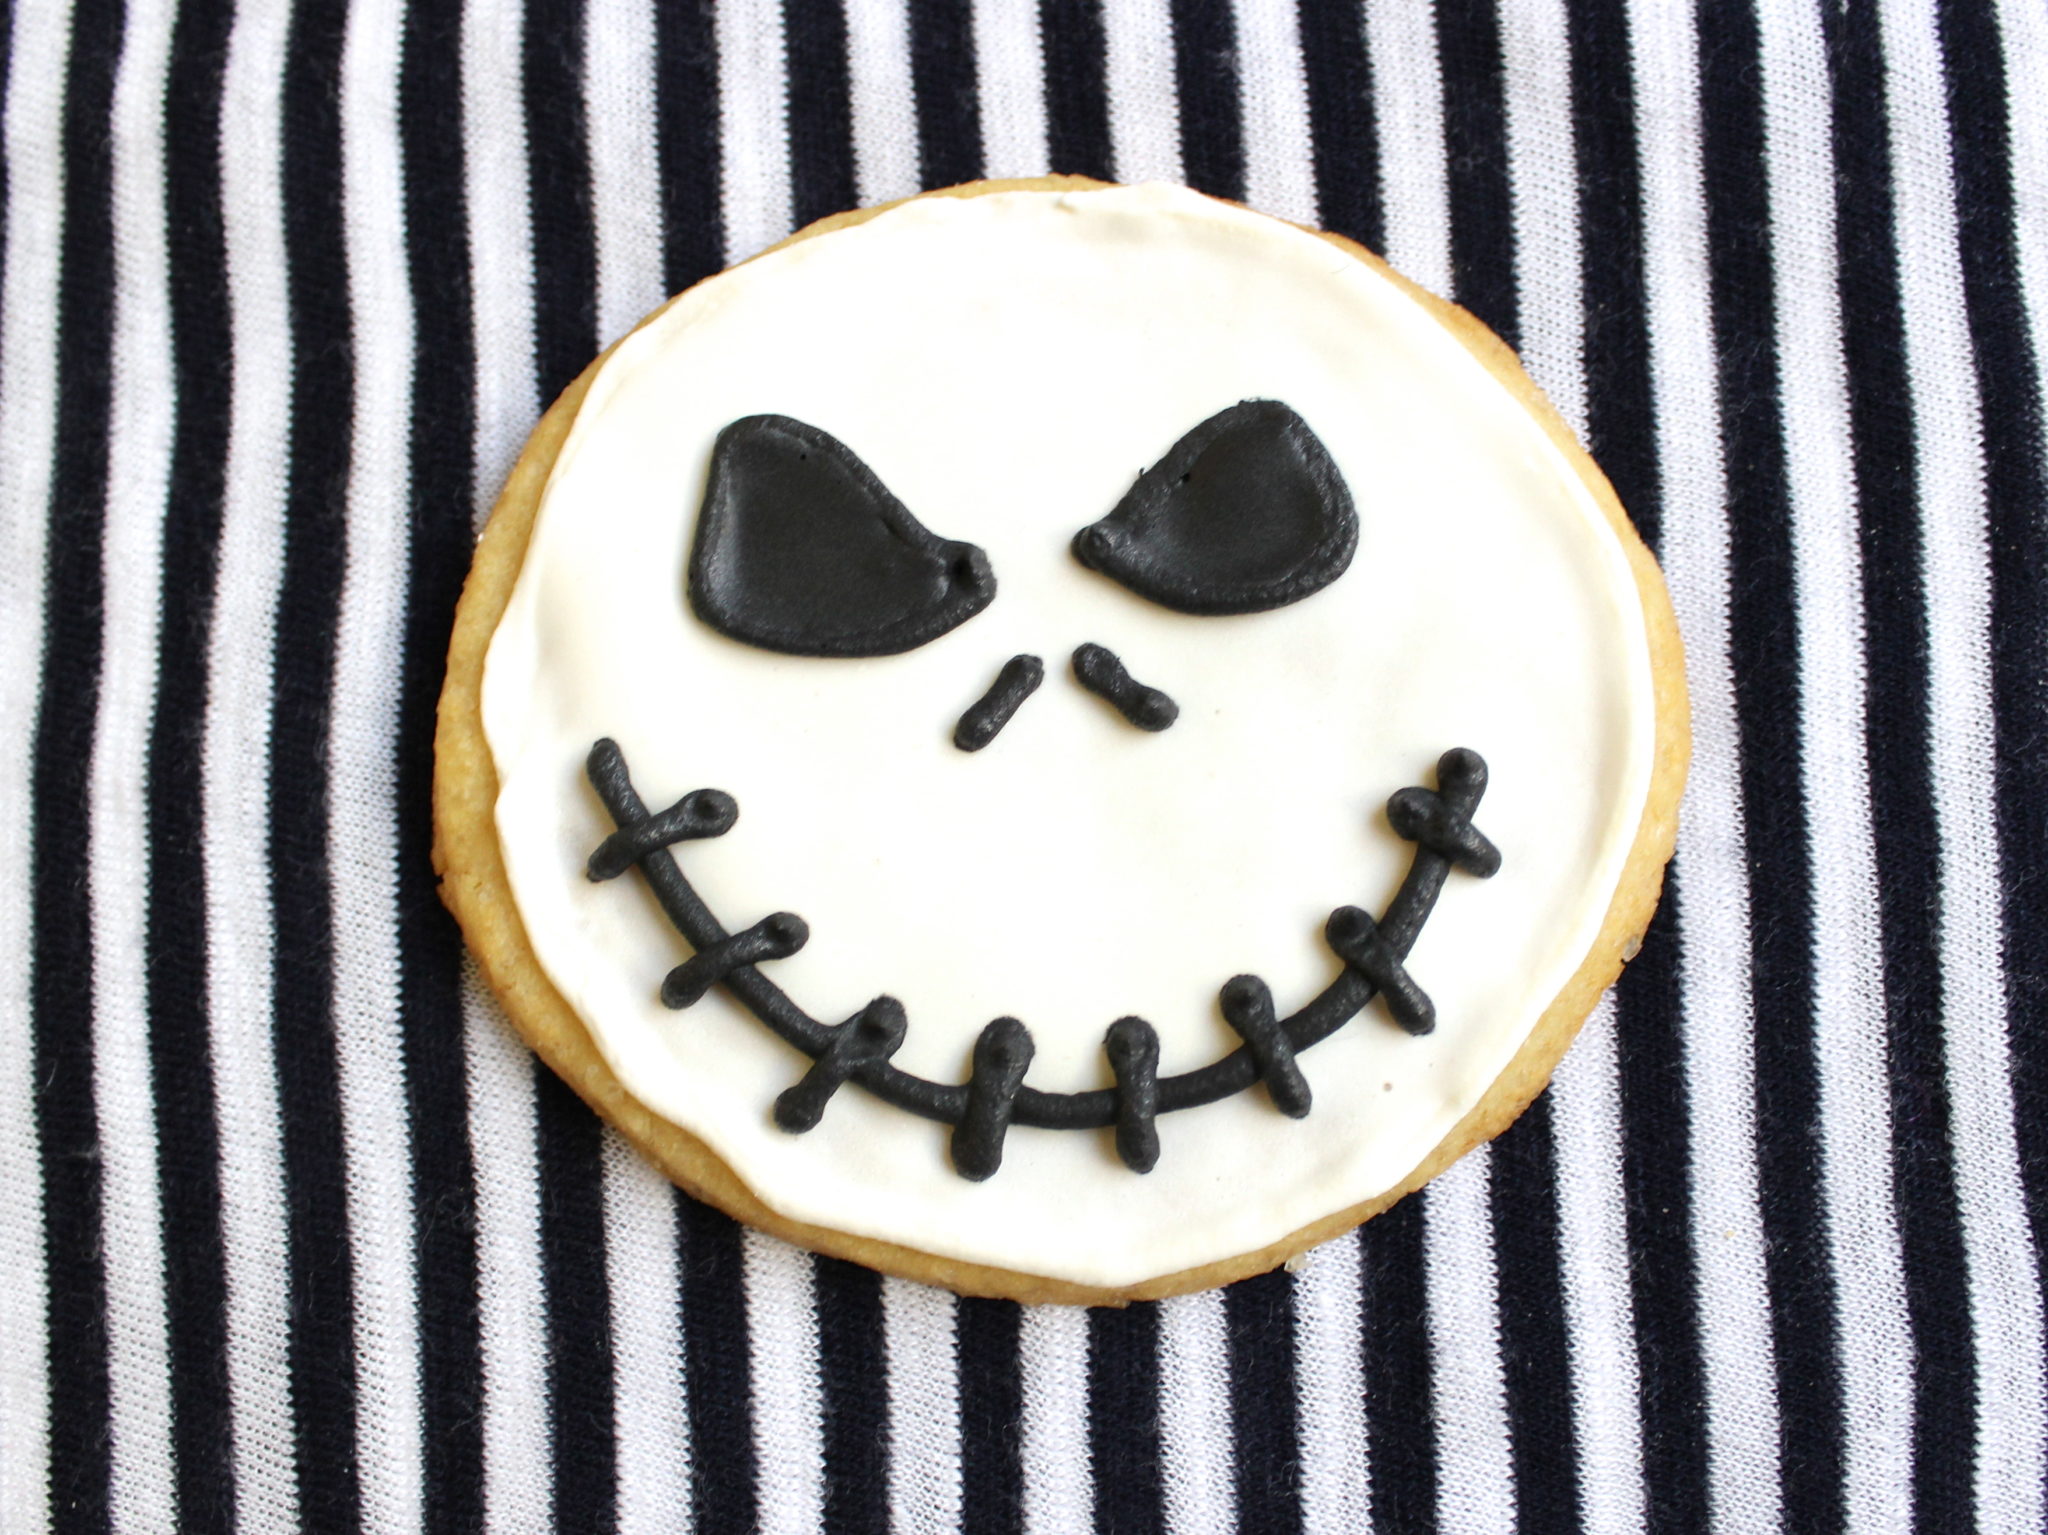
So, when I was making Halloween cookies, I wanted to make two designs based on Halloween at Disneyland: Mickey pumpkins and Jack Skellington.

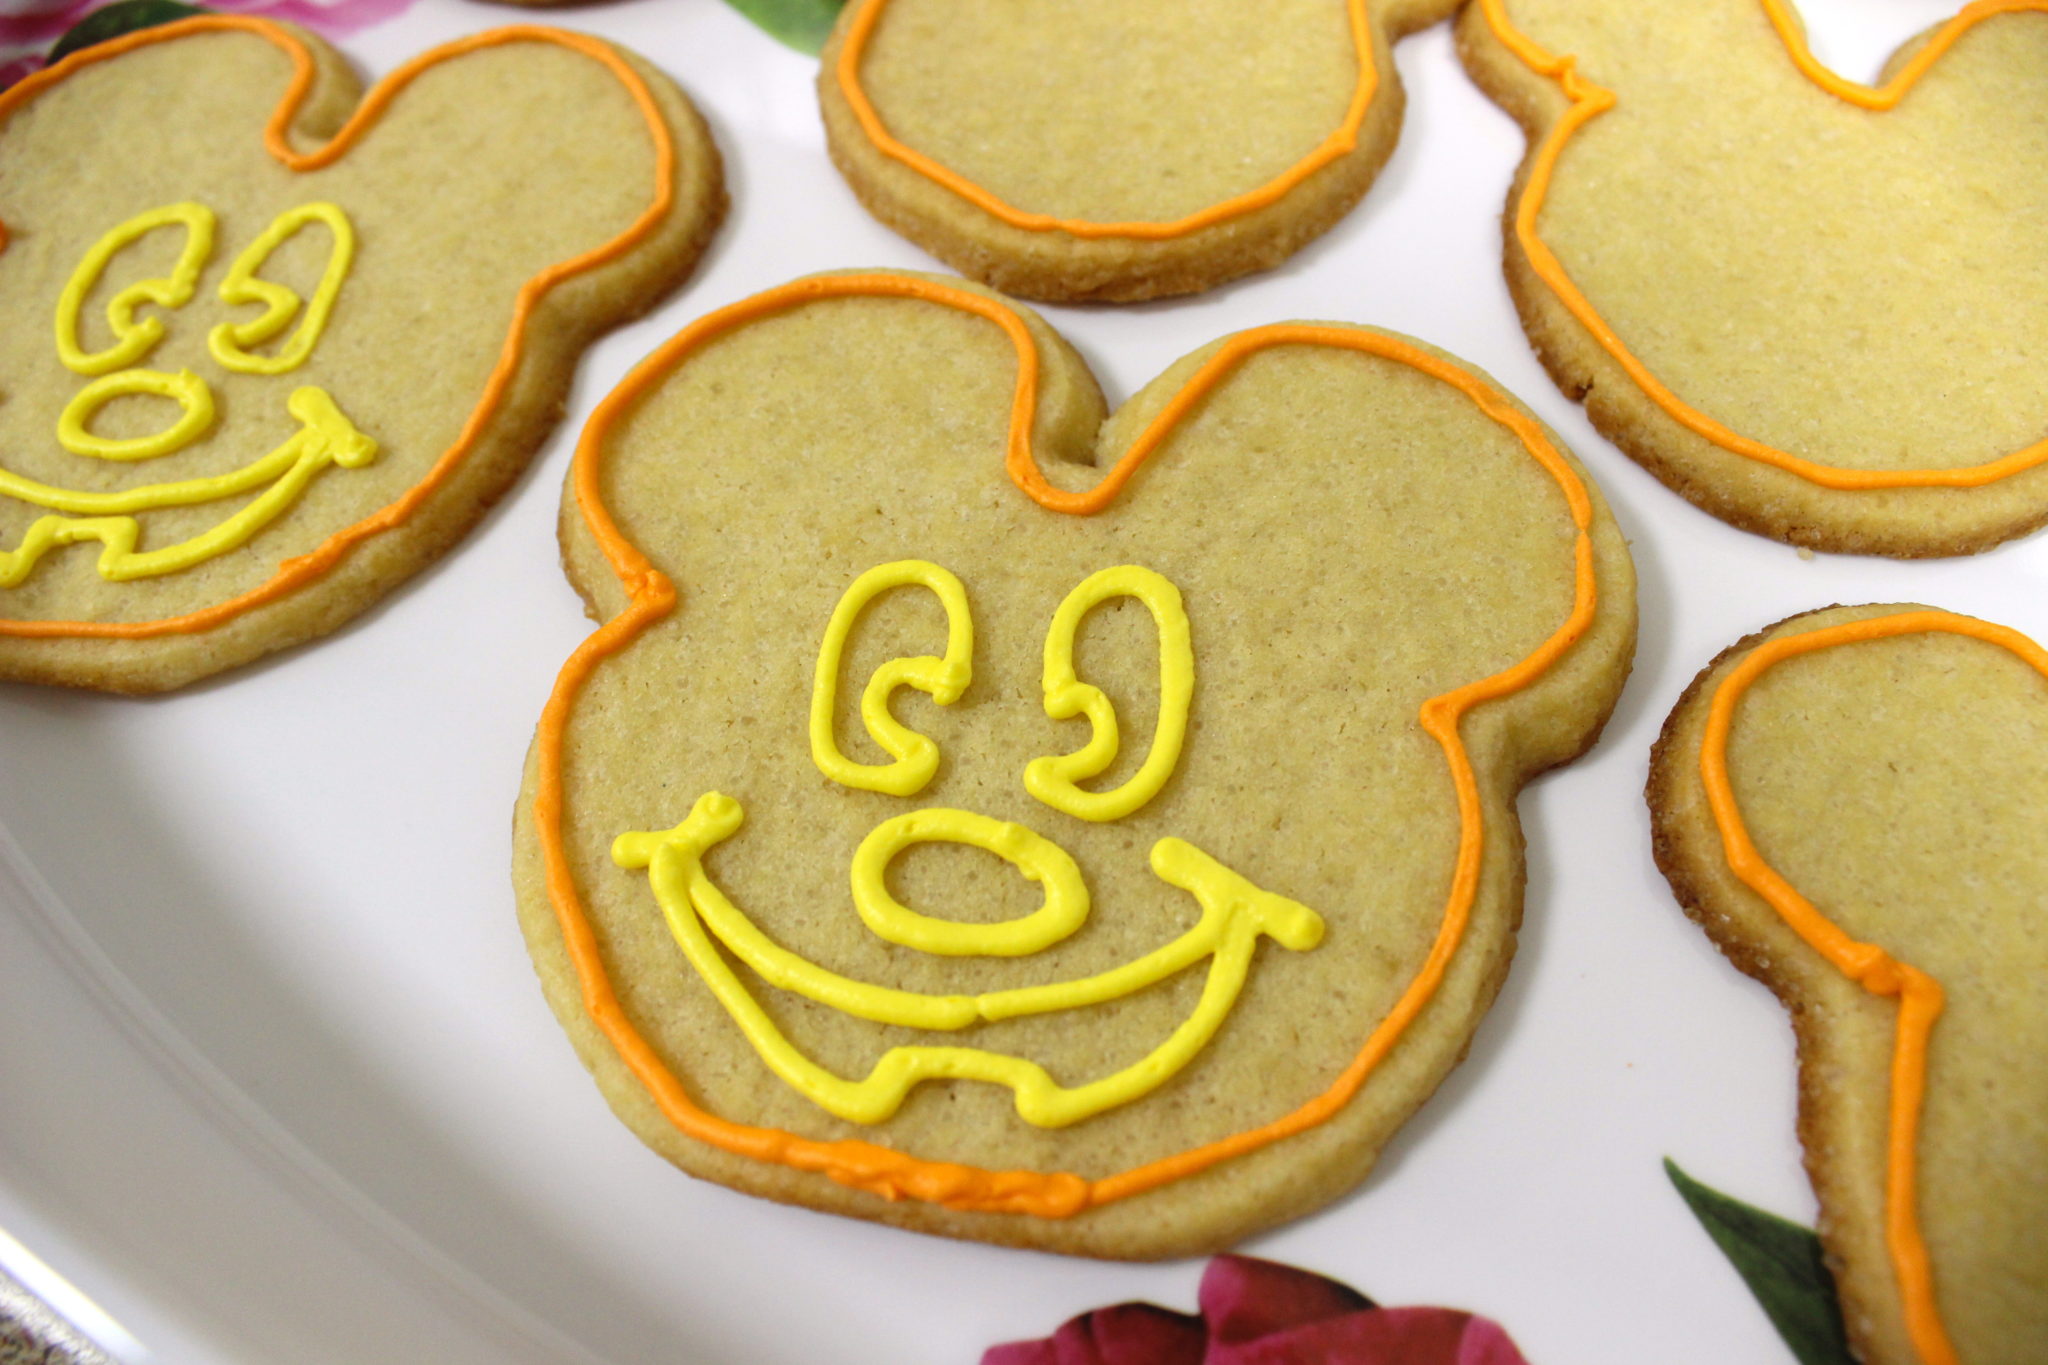
I should have done the Mickey cookies the way I did the Jack Skellington ones — outline, fill in the entire cookie, and then draw the face on last (which is the way I explain them below). I would NOT recommend drawing the face on Mickey before filling him in with orange first (like in the photo above), because it makes filling him in about 9 million times more difficult. I had to practice drawing both of the faces on paper first before I made the cookies, but neither one is super complicated, thank goodness.
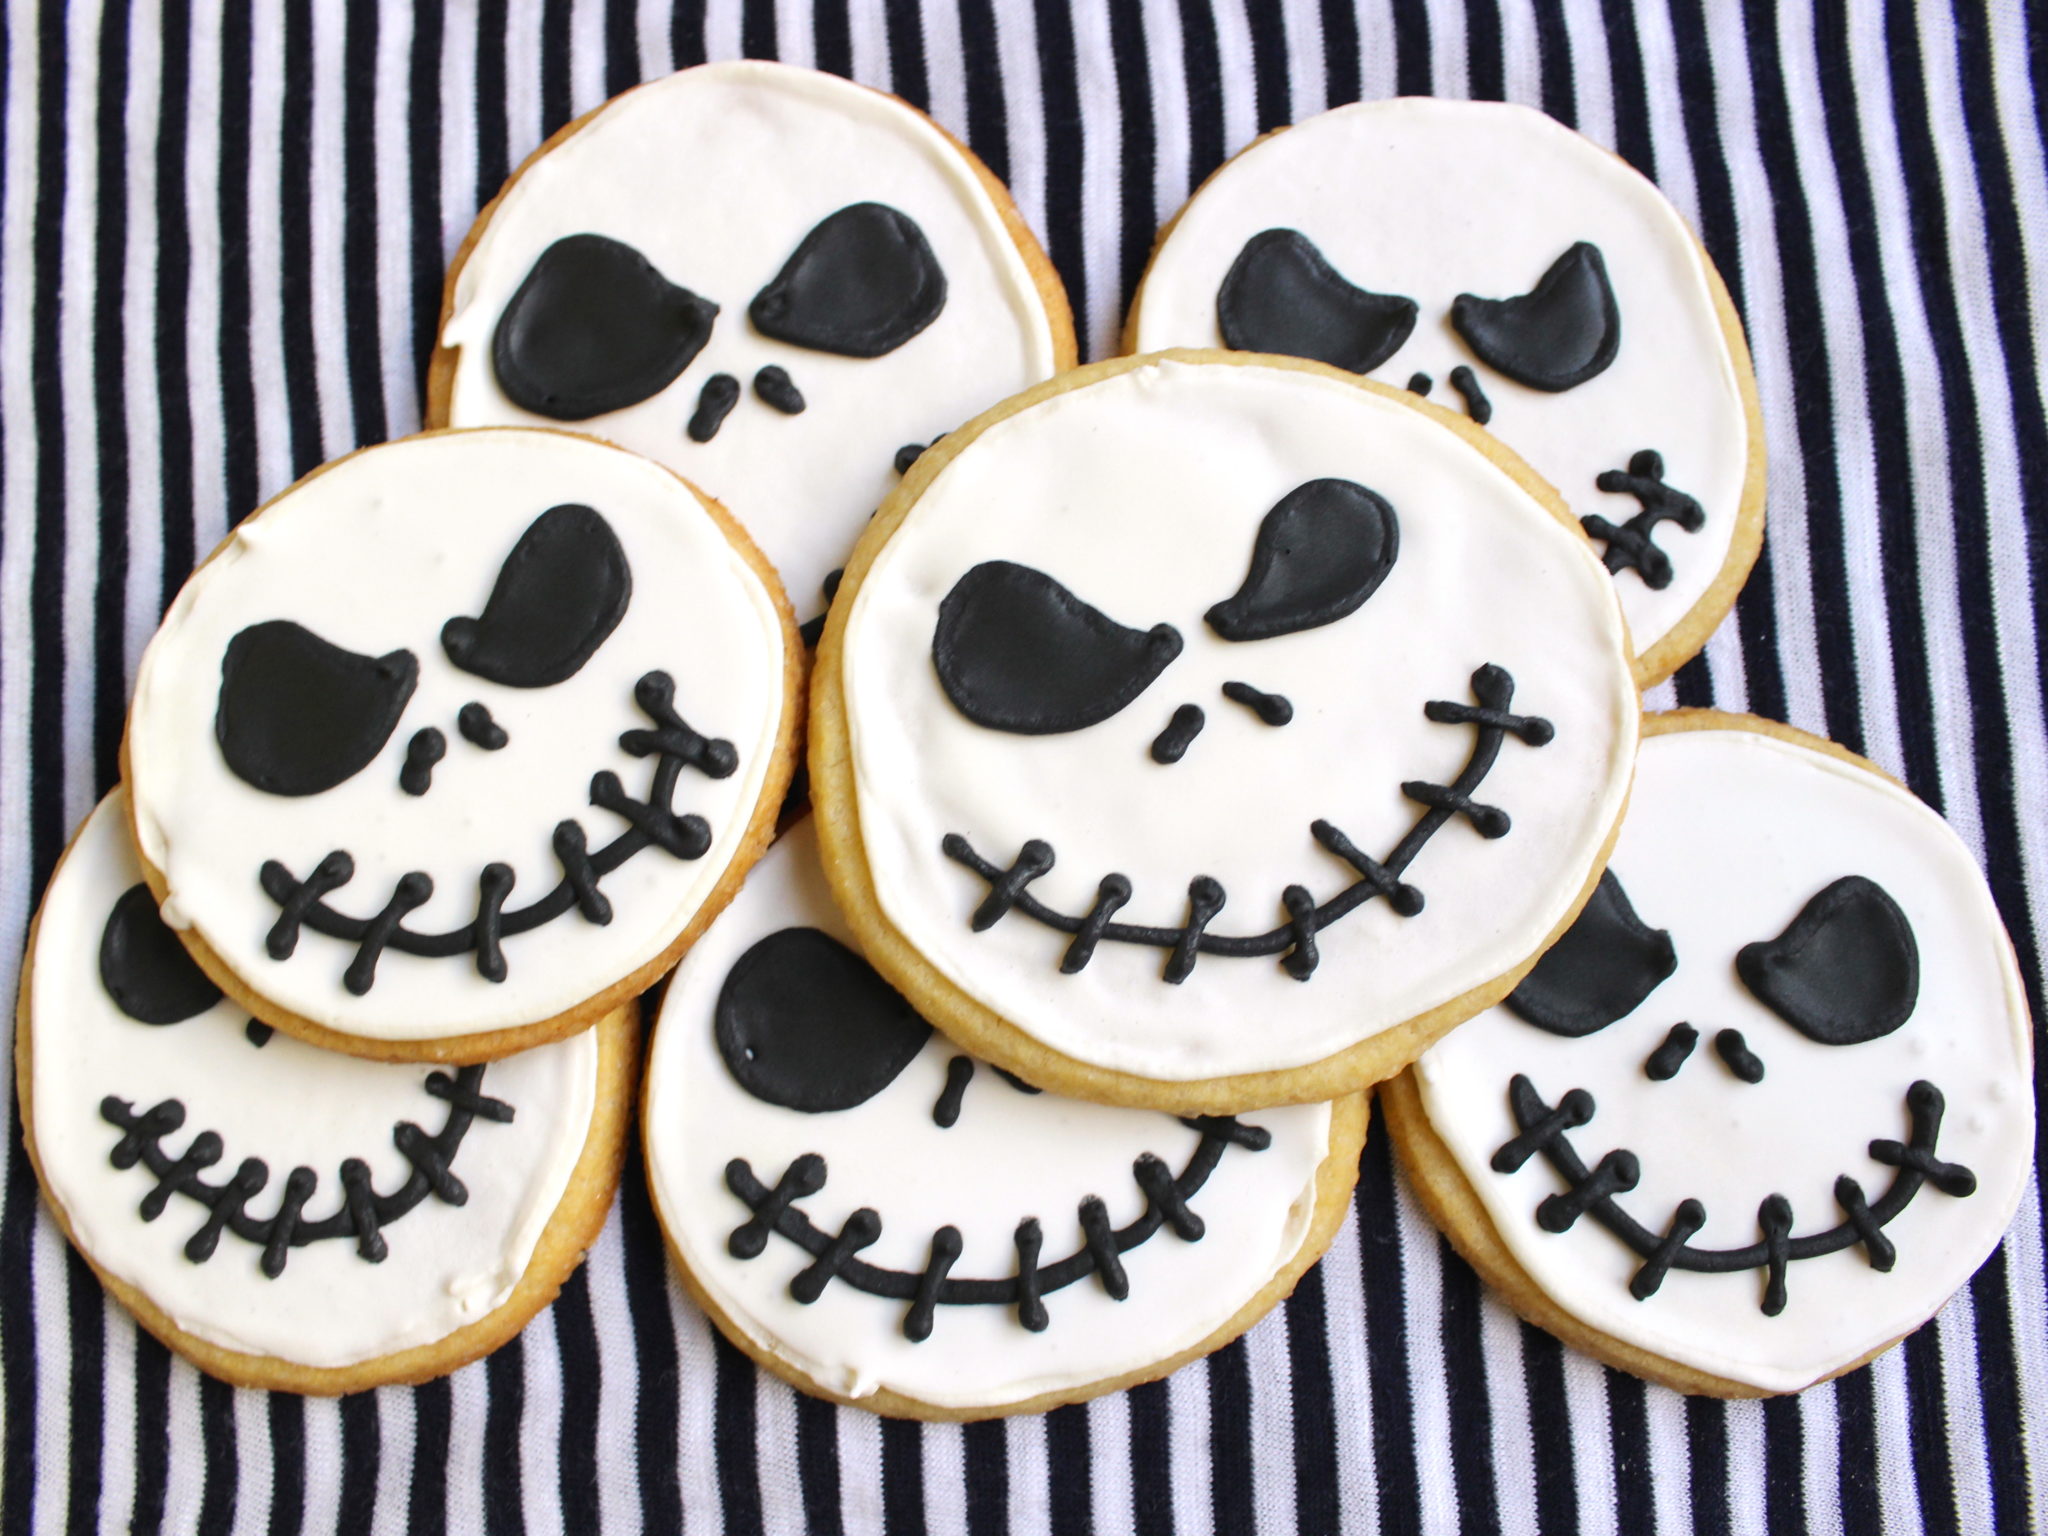
I think I like the Jack Skellington ones better than the Mickeys, but they are both pretty cute. I hope you like them, too. Let me know what you’re dressing up as in the comments!
Sugar cookies (makes about 18 2.5-inch diameter circles and 12 large Mickeys)
2 sticks (1 cup) unsalted butter, set out on the counter for at least an hour ahead of time
1 1/2 cups sugar
1 egg
2 teaspoons vanilla extract
2 3/4 cups all-purpose flour
1 teaspoon baking powder
1 teaspoon salt
Preheat oven to 400F. Using the paddle attachment on a stand mixer (or a hand-held electric mixer), cream together the butter and sugar until light and fluffy. Beat in the egg and vanilla. In another bowl, stir together the flour, baking powder and salt.
Add the flour mixture to the butter mixture about 1 cup at a time, mixing after each addition (I sometimes put a tea towel over the top of the mixer before turning it on so flour doesn’t go everywhere when I turn the mixer on).
You can divide the dough into two parts, wrap it in plastic, and refrigerate it overnight if you’d like, but you don’t have to chill it at all if you don’t want to. If you do refrigerate it, let it sit out at room temperature for at least a few minutes before rolling.
Prepare a clean, flat work surface by dusting with some flour (I always rub a little flour on the rolling pin, too). Roll the dough to about 1/4-inch thick and cut using cookie cutters (biscuit cutters also work for circles).
Cover a few baking sheets with silicone mats or parchment paper, arrange the cookies at least 1 1/2 inches apart from each other, and bake for 6-10 minutes, however long it takes to turn slightly golden around the edges. Remove the pan from the oven and cool for a few minutes before transferring to a coooling rack to cool completely.
Royal icing (makes enough to decorate all the cookies)
1 pound / 4 cups powdered sugar (also called “confectioners sugar”)
4 teaspoons powdered egg whites (usually available with the baking supplies, but meringue powder works, too)
1/3 cup water
1 tablespoon lemon juice
1 teaspoon vanilla
food coloring gel (I used Americolor bright white and super black for Jack Skellington and orange and lemon yellow for the pumpkins)
Piping bags (I use the disposable kind), tips, couplers and rubber band closures
Place the powdered sugar and powdered egg whites in the bowl of a stand mixer fitted with the paddle attachment and turn on low for a few seconds to combine. With the mixer still going on low, gradually pour the water, lemon juice and vanilla into the bowl.
Once the powdered sugar is all wet, turn the mixer up to medium or medium-high speed and beat for a few minutes, watching after the first minute or so until the mixture gets past the liquidy phase and looks glossy and firm. (You may need to scrape down the sides of the bowl at some point to get everything well combined). You can check whether it’s mixed enough by turning off the mixer and pulling the paddle attachment up. If the peaks stand straight up or just bend a little at the top, it’s ready.
For Jack Skellington cookies: Seperate the icing into two parts, roughly 1/3 and 2/3. Use the larger portion for white (you can dye it with food coloring or not, depending on how white it is already), and the smaller portion for black.
Once all the icing is the proper color, put some white into one piping bag and black into another. Cover the remaining icing with plastic wrap, pressing down so it doesn’t dry out. Place all the round cookies out on clean baking sheets or trays.
Use the white icing to outline each of the cookies, then put the remaining white icing back into its bowl. Add about 1 tablespoon of water and stir, then continue adding water a little at a time, stirring after each addition, until the icing is roughly the consistency of maple syrup (err on the side of too thick, since you can always add more water if necessary). Use the thinned white icing and toothpicks or a small spoon to fill in the circles completely. Allow to dry (or at least get close to dry), then use the still-thick black icing in the piping baag to draw the outline of Jack Skellington’s eyes, as well as his nostrils and mouth.
Once that’s done, put the remaining black icing back in its bowl and thin using a little water at at time (just like you did for the white icing) until it’s the consistency of maple syrup. Use that icing and toothpicks or a paintbrush to fill in the eyes. Allow cookies to dry overnight before storing in an airtight container.
For Mickey pumpkin cookies: Seperate the icing into two parts, roughly 1/3 and 2/3. Use food coloring gel to make the larger portion as orange, and the smaller portion yellow.
Once all the icing is the color you want it, spoon both colors into piping bags and secure the ends with rubber bands. Cover the extra icing with plastic wrap, pressed down on the surface.
Use the orange icing to outline all the Mickey Mouse cookies, then put the rest of the orange back into the correct bowl and add a tablespoon of water. Stir, then continue adding water a little at a time until the icing is the consistency of maple syrup (err on the side of too thick). Use the thinned icing and a small spoon to fill in the cookies completely.
Allow the orange icing to dry (or come cloes), then use the still-thick yellow icing to pipe the outline of Mickey’s face onto the cookies. Return the rest of the yellow icing to its bowl and use the same method of adding water a little at a time until the icing is the consistency of maple syrup. Use the thinned yellow icing and a toothpick or paintbrush to fill in Mickey’s eyes, nose, and mouth.
Let the cookies dry completely before storing in an airtight container.