I wanted to make some Marine Corps birthday baked goods for Toby’s Marines last week, but I ran out of time — so I thought I’d make some camouflage cookies today, for Veterans Day, and have Toby take them to the Marines tomorrow.
I love baking (and eating) sugar cookies, but I haven’t made them for a while.

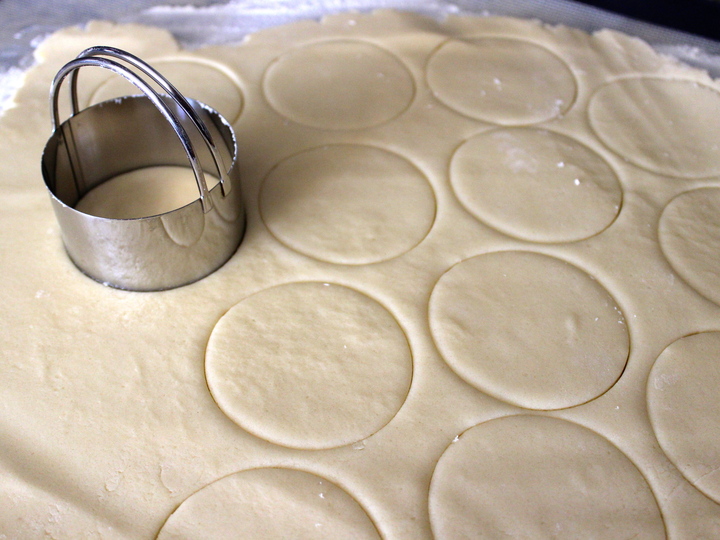
You can make any shape you’d like, of course, but circles are super easy to cut and decorate.
I also made a few with words stamped on them… because Marines really like cookies with ridiculous things printed on them. Especially profane quotes from “Team America: World Police.”


The cookies themselves are easy and relatively quick, but the decorating process does take a while.
The issue is the frosting: Royal icing is pretty easy to make with a stand mixer, but mixing the colors and getting it the right consistency takes a while, and piping it on can also be pretty time consuming, depending on how many cookies you’re frosting.

The good thing is that this camo is pretty free-form, so it’s hard to mess up and doesn’t require a super steady hand — so you don’t have to be an experienced cookie decorator to pull this off. You just need some time and a lot of food coloring gel.


I originally tried to make the pattern look like Marine Corps digital camouflage, but it ended up more like the traditional camo pattern. It’s OK, though: Traditional camouflage is totally in right now.
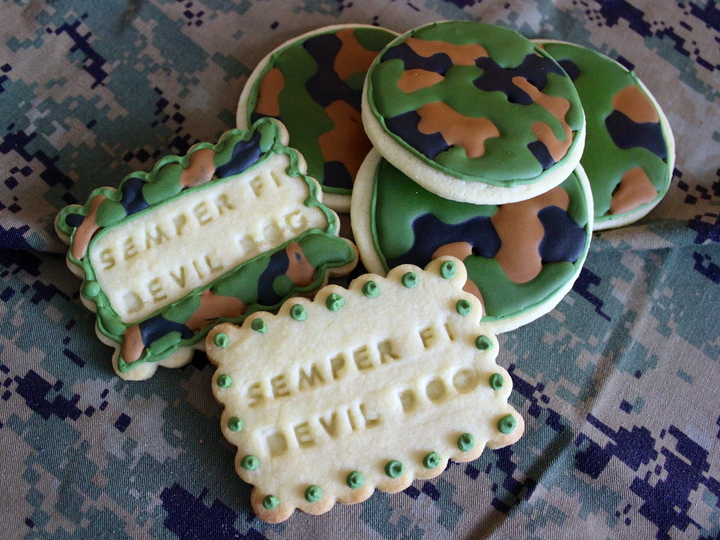
Oooh-rah.

Camouflage cookies (Cookie recipe adapted from Wilton, icing from The Gourmet Cookbook, makes 4-6 dozen cookies, depending on the size of your cookie cutter)
Sugar cookies
2 sticks (1 cup) unsalted butter, at room temperature
1 1/2 cups sugar
1 egg (at room temperature is best)
2 teaspoons vanilla extract
2 3/4 cups all-purpose flour
1 teaspoon baking powder
1 teaspoon salt
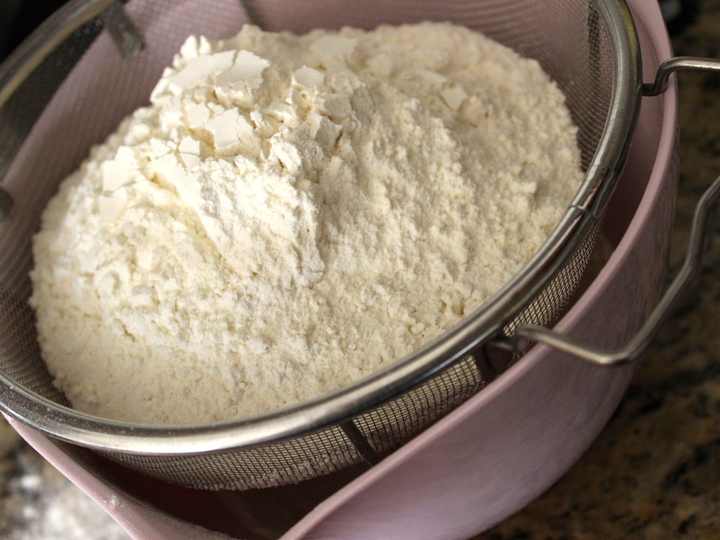
Preheat oven to 400F and make sure you have a clean surface ready for rolling out the cookie dough. Using the paddle attachment on a stand mixer (or using a hand-held electric mixer and a large mixing bowl), beat/cream together the butter and sugar until light and fluffy. Beat in the egg and vanilla. In another bowl, sift together the flour, baking powder and salt.
Add flour mixture to the butter mixture about a third at a time, mixing just to combine after each addition. Don’t chill the dough. Gather together about half of the dough and place it on a clean floured surface and roll it out to about 1/8-inch thick. Cut out shapes using cookie cutters dipped in flour.
Cover baking sheets with silicone mats or parchment paper. Bake cookies until they’re just starting to get golden around the edges, about 6-7 minutes. Remove from oven and cool on pan for a few minutes, then move to a wire cooling rack (or flat plate) to cool completely.
Royal icing
1 pound powdered sugar
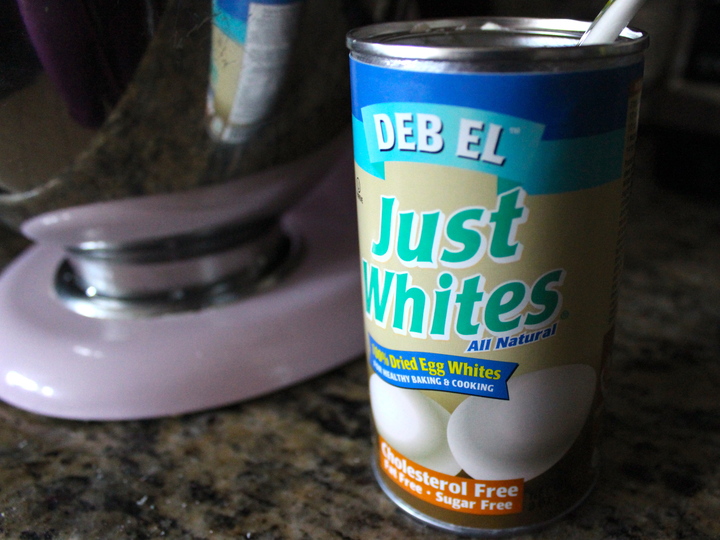
4 teaspoons powdered egg whites (not reconstituted)
1/3 cup water
1 tablespoon lemon juice
1 teaspoon vanilla
Food coloring gel – I used Wilton moss green, Wilton brown, and Chefmaster coal black
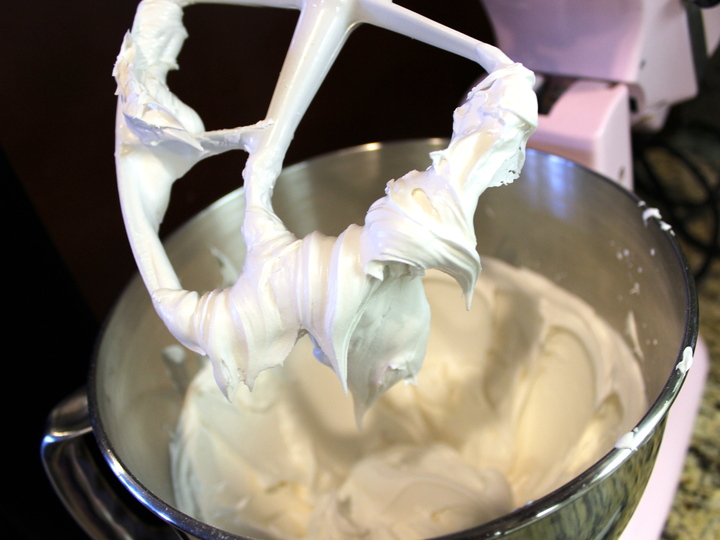
Place the powdered sugar and powdered egg whites in the bowl of a clean bowl of a stand mixer fitted with the paddle attachment. Mix on low speed to combine.
Put the water, lemon juice and vanilla in a measuring cup (you don’t have to stir them), and pour into the powdered sugar mixture with the mixer still on low speed.
Once the ingredients are combined, increase speed to high and beat icing, scraping down sides of bowl occasionally, until it holds stiff peaks (this will take about 3 minutes in a stand mixer or 10ish with a handheld). Separate icing into three bowls (you want one to have a bit more frosting in one of the bowls, if possible). Dye the one black, one brown, and the one with more frosting in it an olive green color. Keep in mind that the color will darken when the icing dries.
To thin the icing for flooding/spreading: Add water about a teaspoon at a time to icing that is already the desired color. Stir after each addition, adding water until the icing is the consistency of maple syrup.
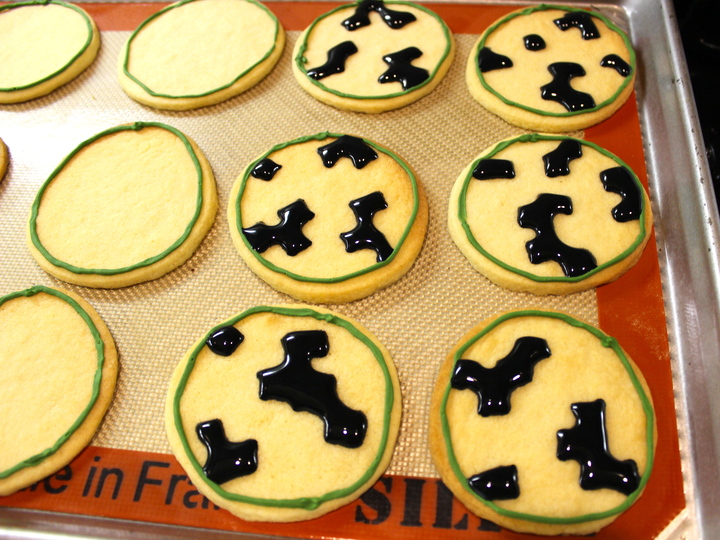
To decorate the cookies: Put some of the olive green frosting in a pastry bag with a small tip (I used Wilton #3 tips) and use it to outline the cookies.
Thin the rest of the green icing, as well as the black and the brown icing, using a few small drops of water at a time and stirring well after each addition, until the icing is the consistency of maple syrup. Spoon or scoop icing into the piping bags.
Using the black icing first, pipe random shapes with square or rectangular corners. Pipe the black frosting onto just a few cookies at a time, then fill in some of the remaining space with brown icing (still doing square or rectangular shaped corners) and then fill in the rest with green.
Continue with the rest of the cookies, working 4-5 cookies at a time. Allow frosting to dry overnight.
So cute and creative!